
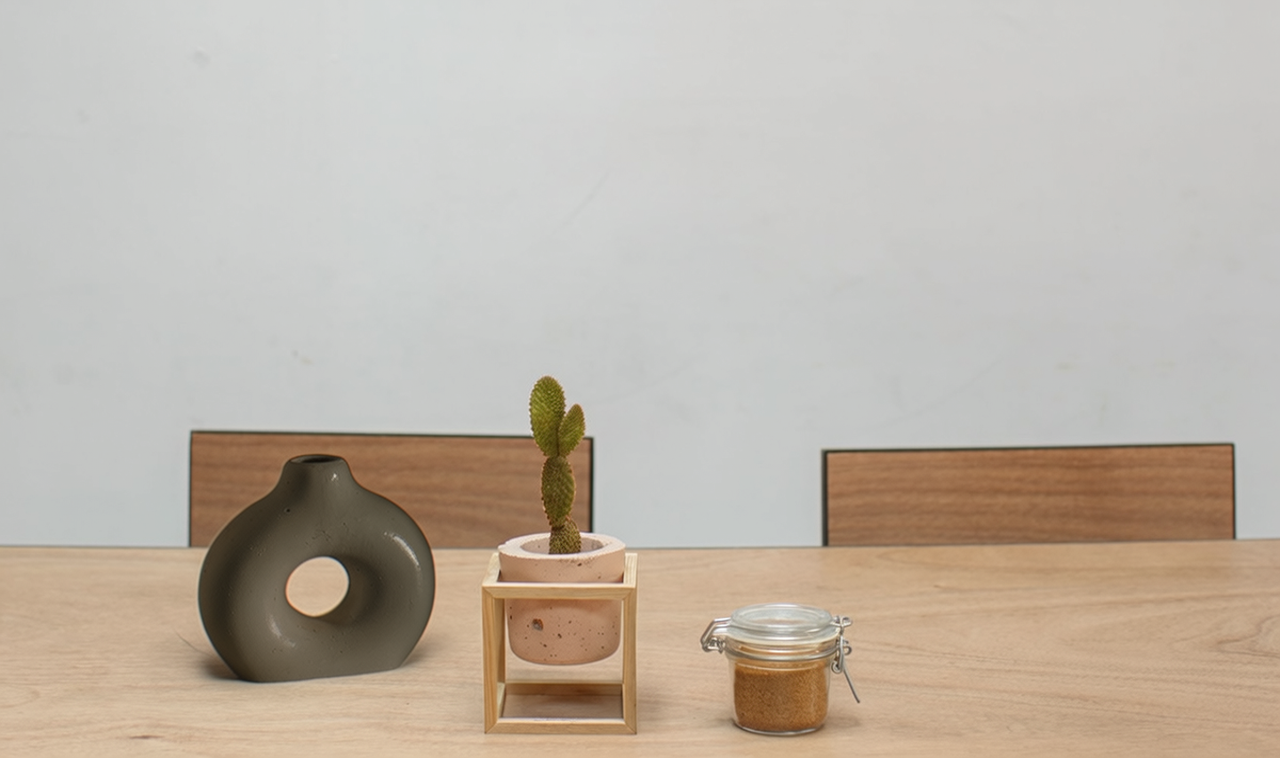
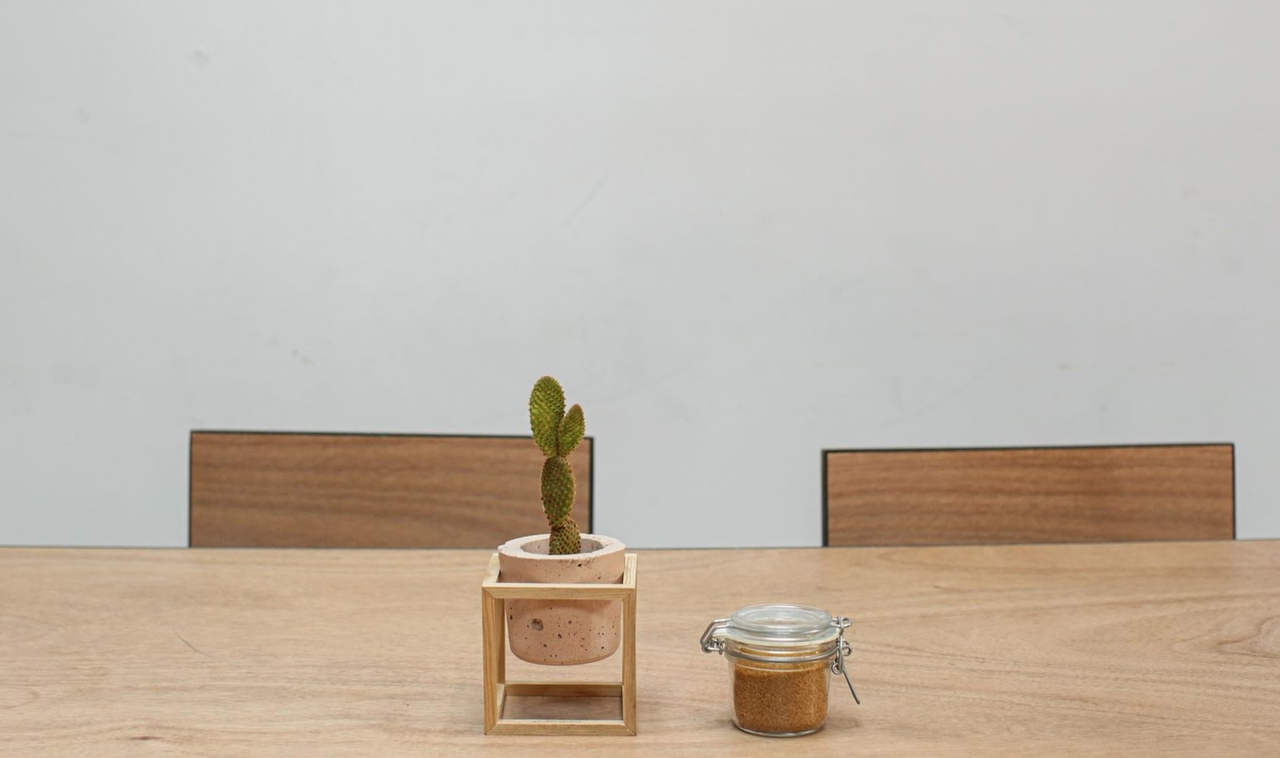
- Position X 16% · Y 60%
- Size 18% × 30%
Place your product in a scene you choose. Upload a product photo and a scene, then guide position and scale for storefront and campaign concepts.
Compare the original scene with the actual result after adding the product. Drag the divider to compare.
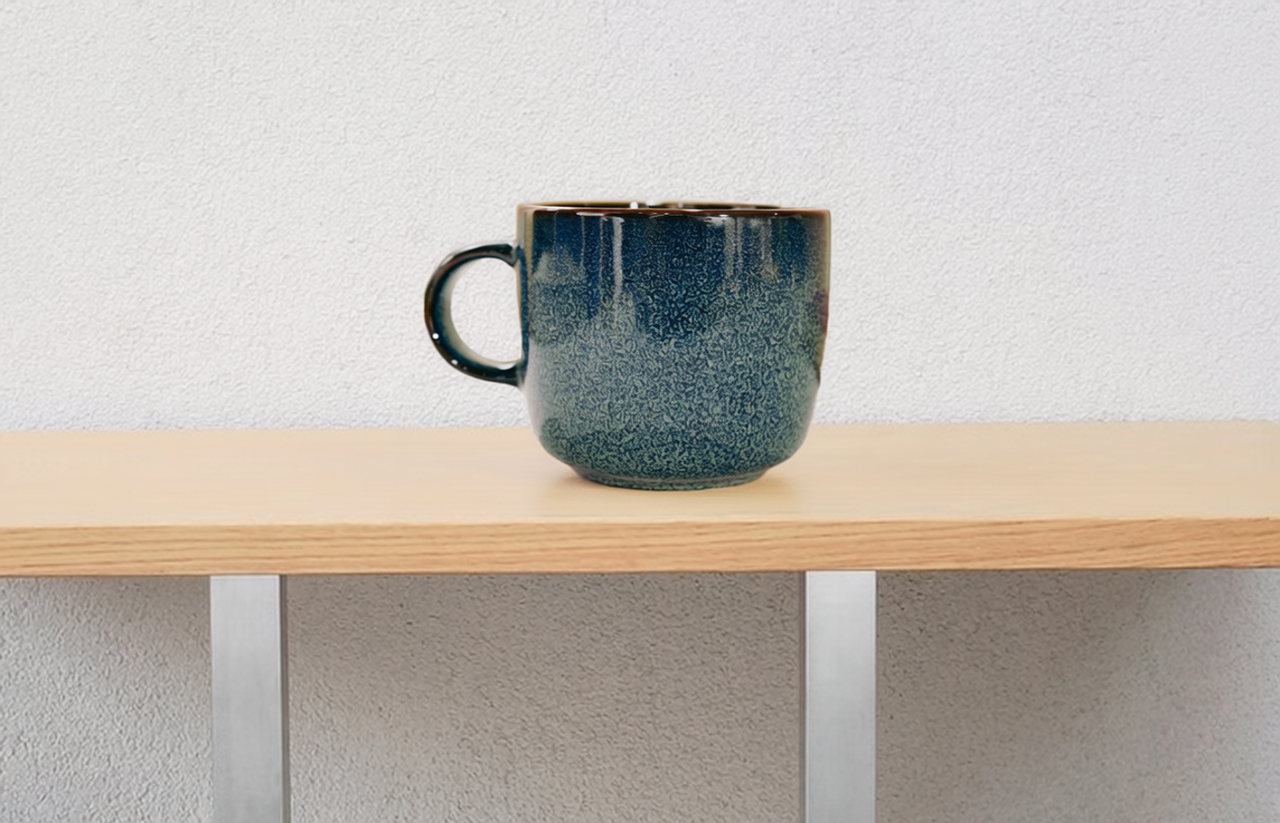
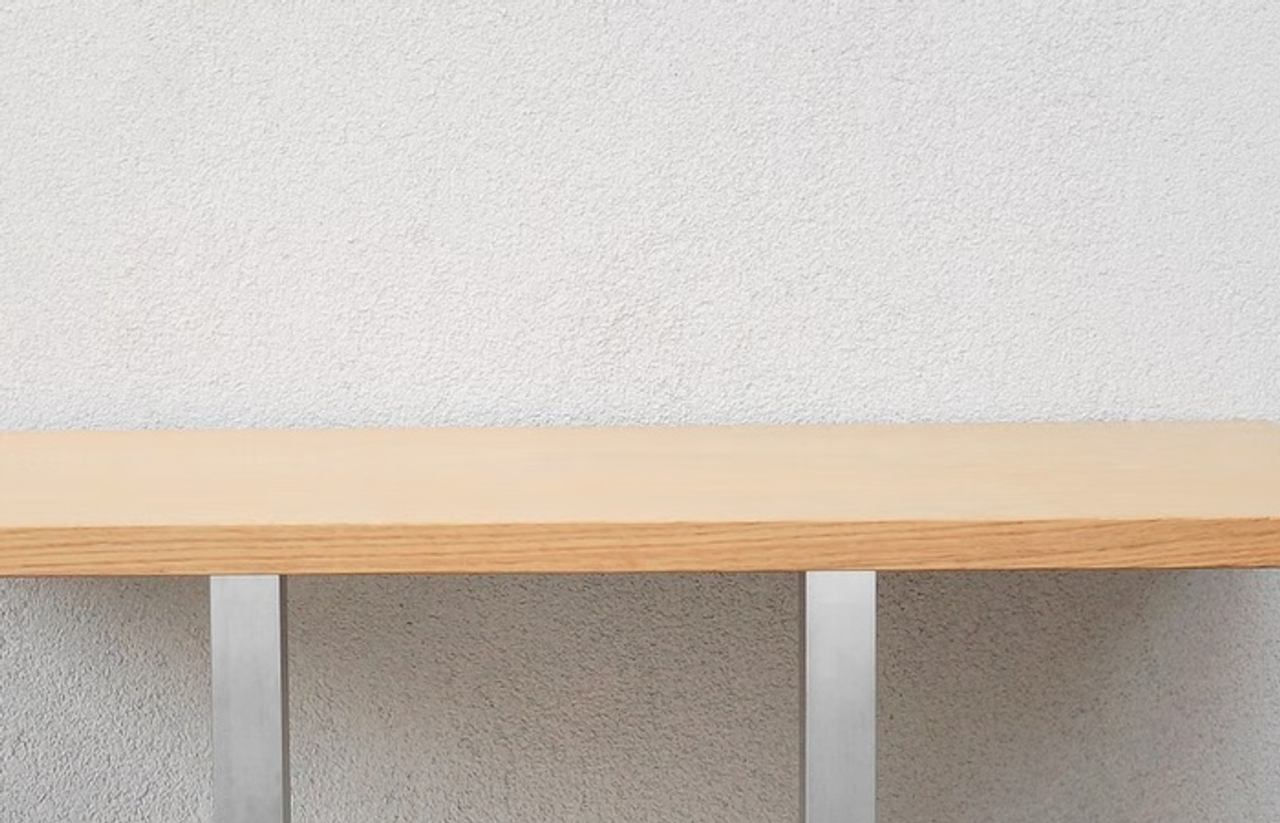
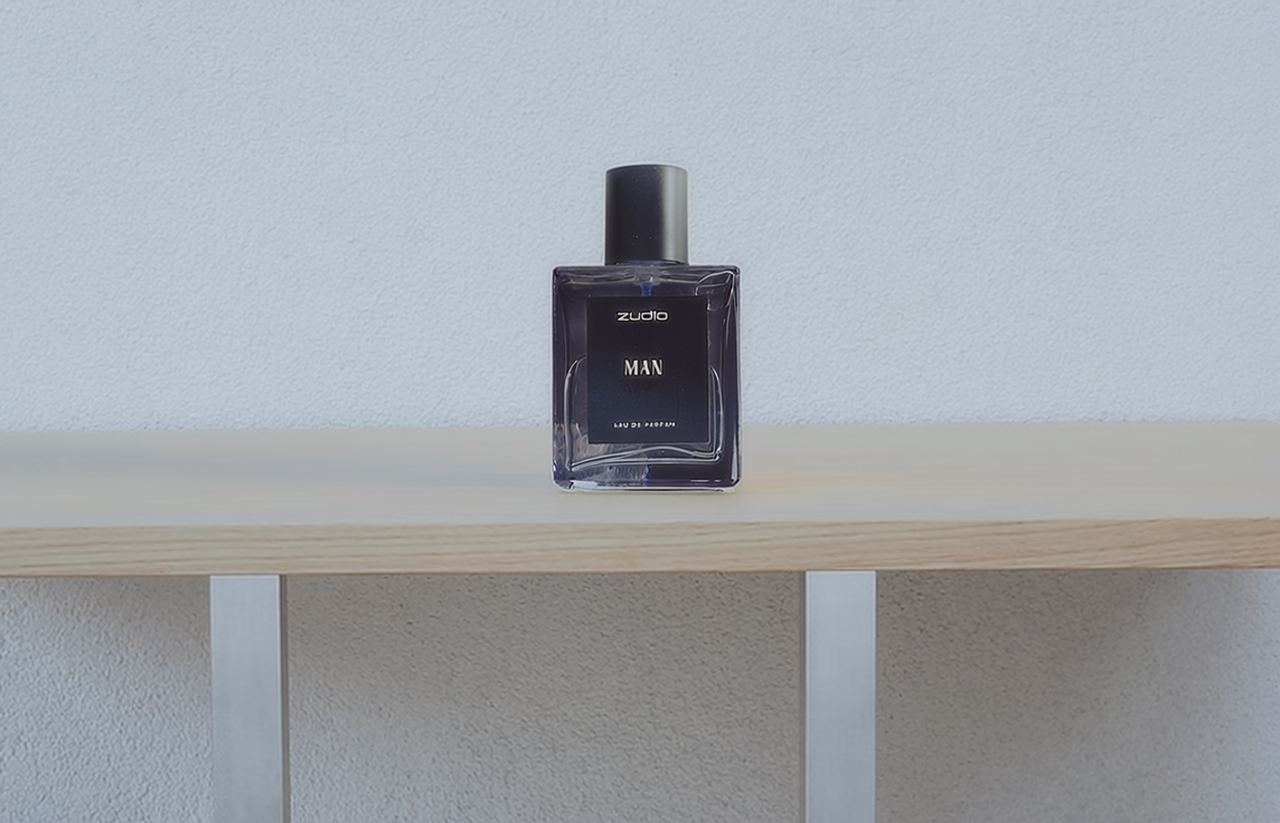
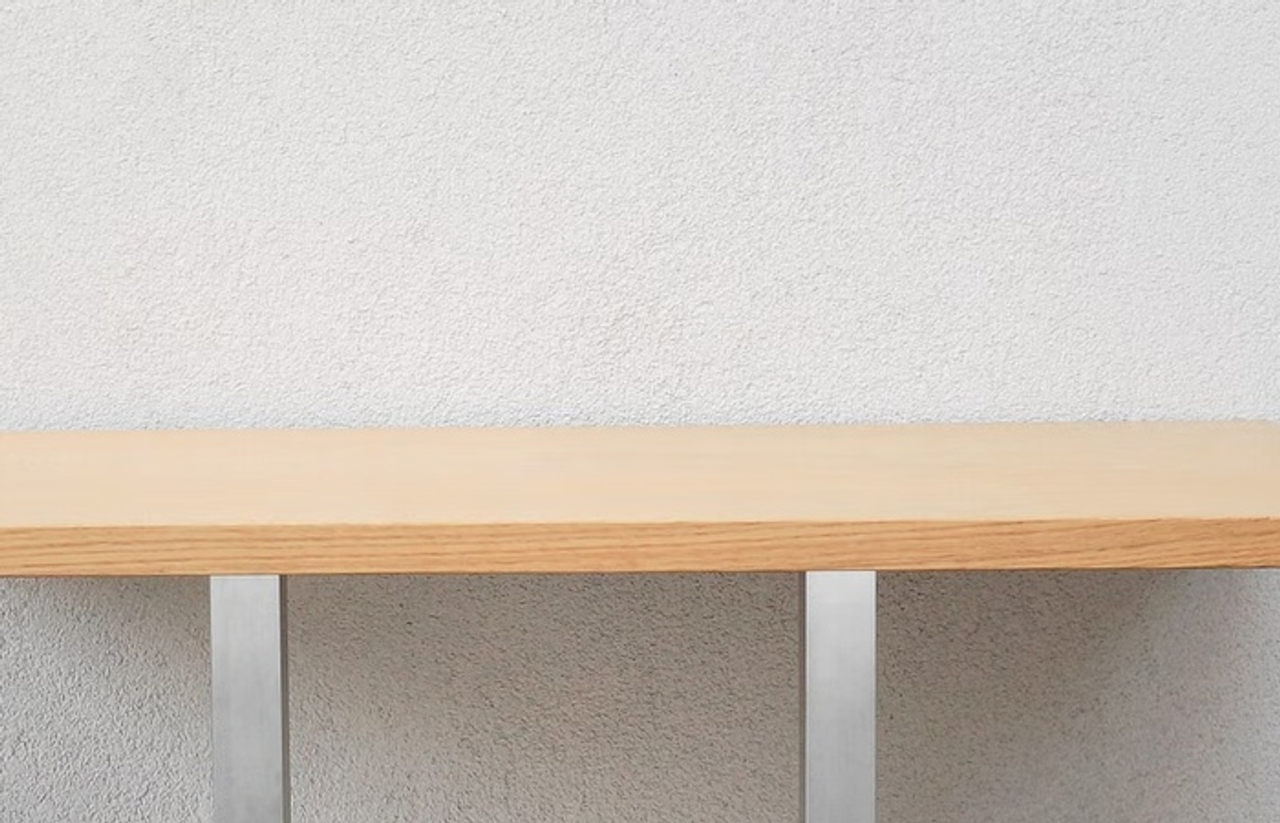
Choose a clear tabletop, shelf or other support surface with space for the complete product.
Set left, top, width and height as percentages of the scene. Align the product base with its support surface.
Explore a product on a display surface for store content or a campaign concept. Match the source view to the scene.
Try a shelf or counter with space around the product. Choose a scene shot from a similar angle and place the product base on the surface.
Use a room or tabletop photo for a campaign idea. Match the product scale to nearby objects and check contact and shadows.
Use a clear JPEG, PNG or WebP showing the complete product. Keep packaging and labels readable.
Upload the Scene image, then adjust the four percentage controls. Keep the box inside the image and size the product to its surroundings.
Compare with your original. Check the product shape, color and label text before using the result.
Explore other product photography tasks, remove an existing background or enlarge an image for your next design.


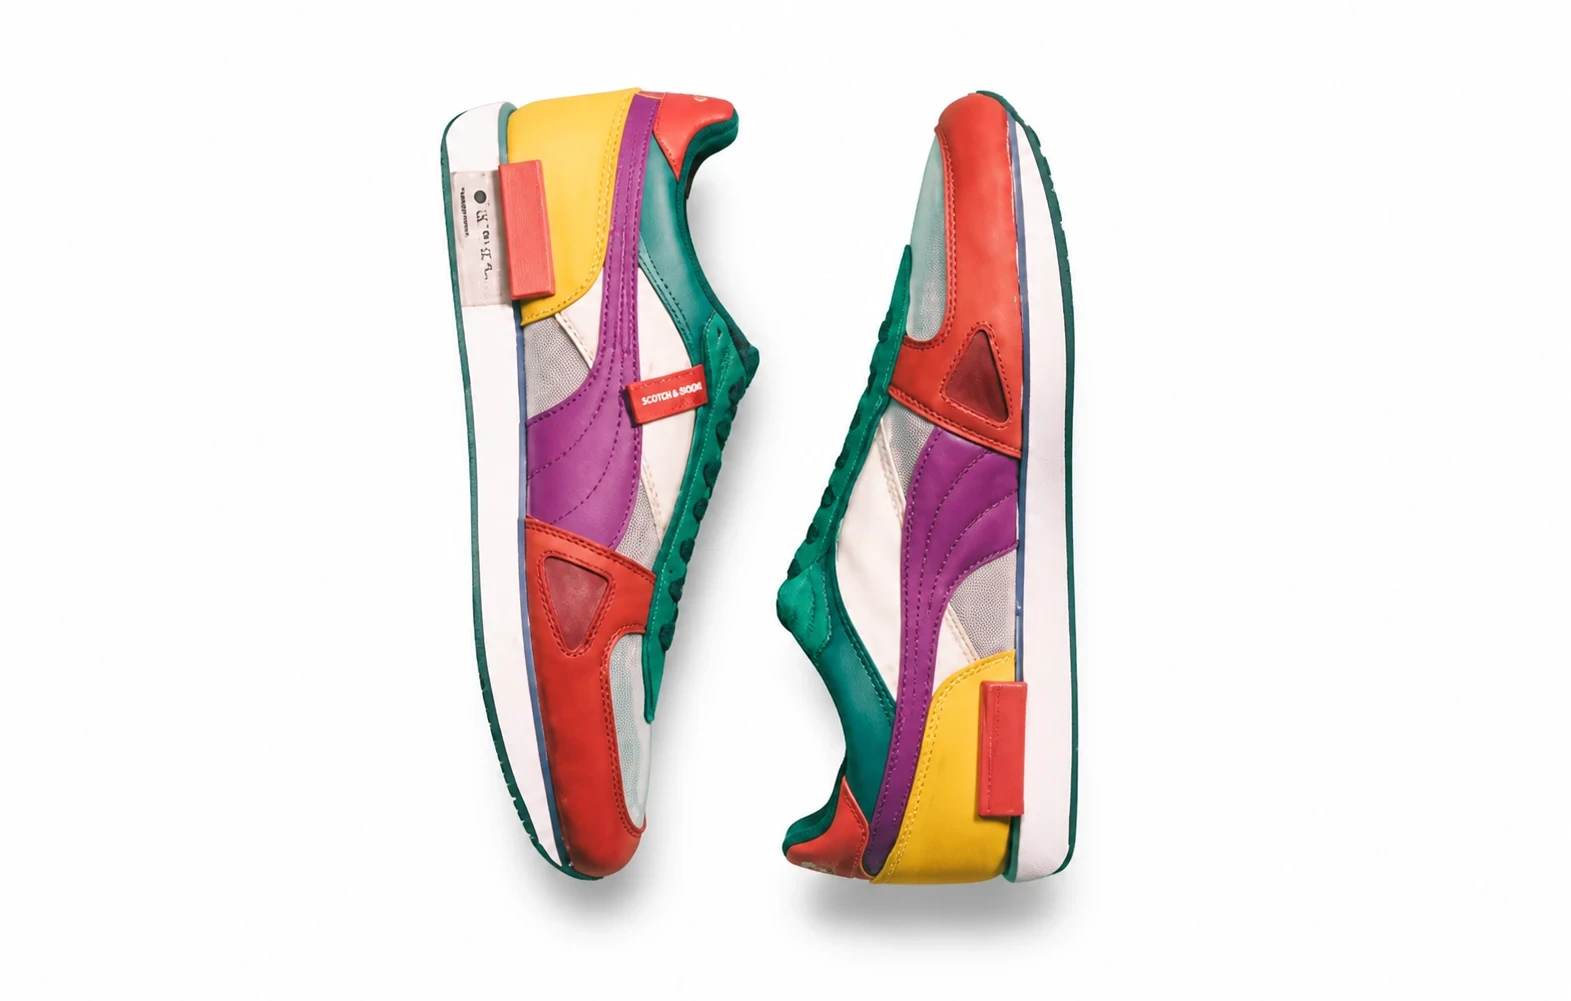
Place your product in a scene you choose. Upload a product photo and a scene, then guide position and scale for storefront and campaign concepts.